Getting a new piercing is an exciting form of self-expression, but following proper aftercare is important to ensure smooth healing. One of the most common concerns with piercings is the risk of scars and keloids, which can form if the piercing doesn’t heal properly. While not everyone is prone to scarring, there are several steps you can take to minimize the risk of developing piercing scars or keloids. This blog will explore what causes scarring, how keloids form, and the best practices for keeping your piercings healthy and scar-free.
1. What Are Piercing Scars and Keloids?
Before diving into prevention tips, it’s important to understand the difference between common piercing scars and keloids.
Piercing Scars:
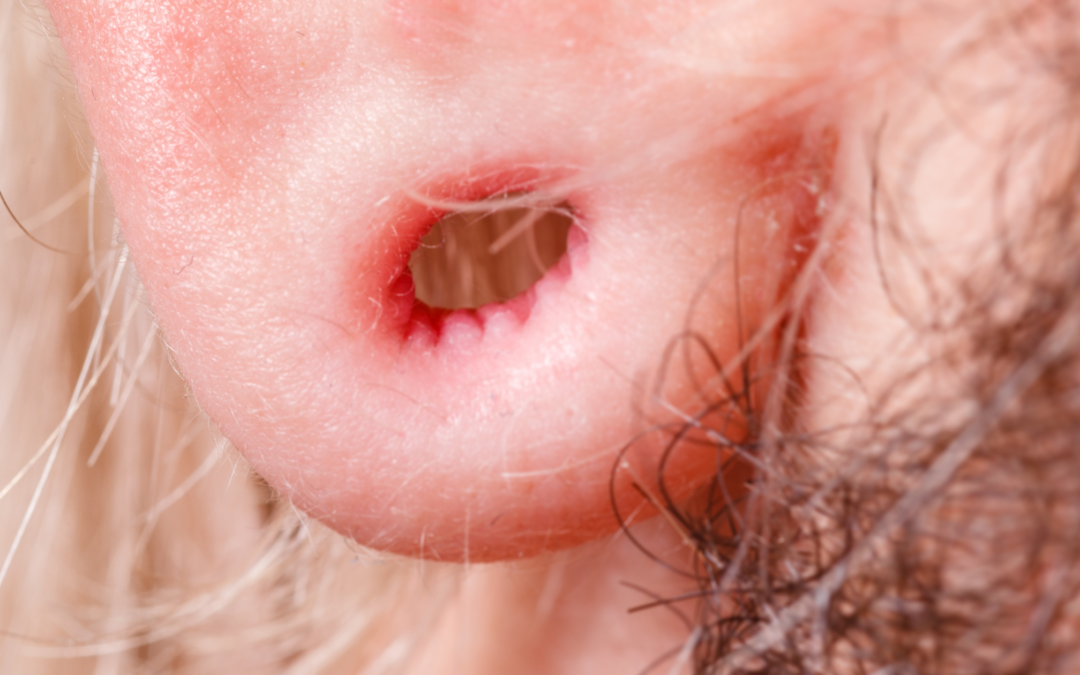
Piercing scars can occur when the skin heals unevenly or is disrupted during healing. These scars are typically flat and blend into the surrounding skin but may be noticeable.
Keloids:
Keloids are raised, overgrown scars that occur when the body produces excess collagen during healing. Unlike regular scars, keloids extend beyond the original wound and can continue to grow over time. People with darker skin tones or a family history of keloids are more prone to developing them.
2. Choose a Professional Piercer
One of the most important factors in avoiding scars and keloids is choosing an experienced, professional piercer. A skilled piercer will use the correct technique and ensure that the jewelry is placed at the proper depth and angle, reducing the risk of trauma to the skin.
Key Considerations:
- Sterile Equipment: Ensure the piercing studio uses sterile needles, not piercing guns, as guns can cause more trauma and increase the risk of scarring.
- Jewelry Material: To minimize irritation and promote healing, choose high-quality, hypoallergenic jewelry made from titanium, surgical steel, or gold.
3. Follow Proper Aftercare Instructions
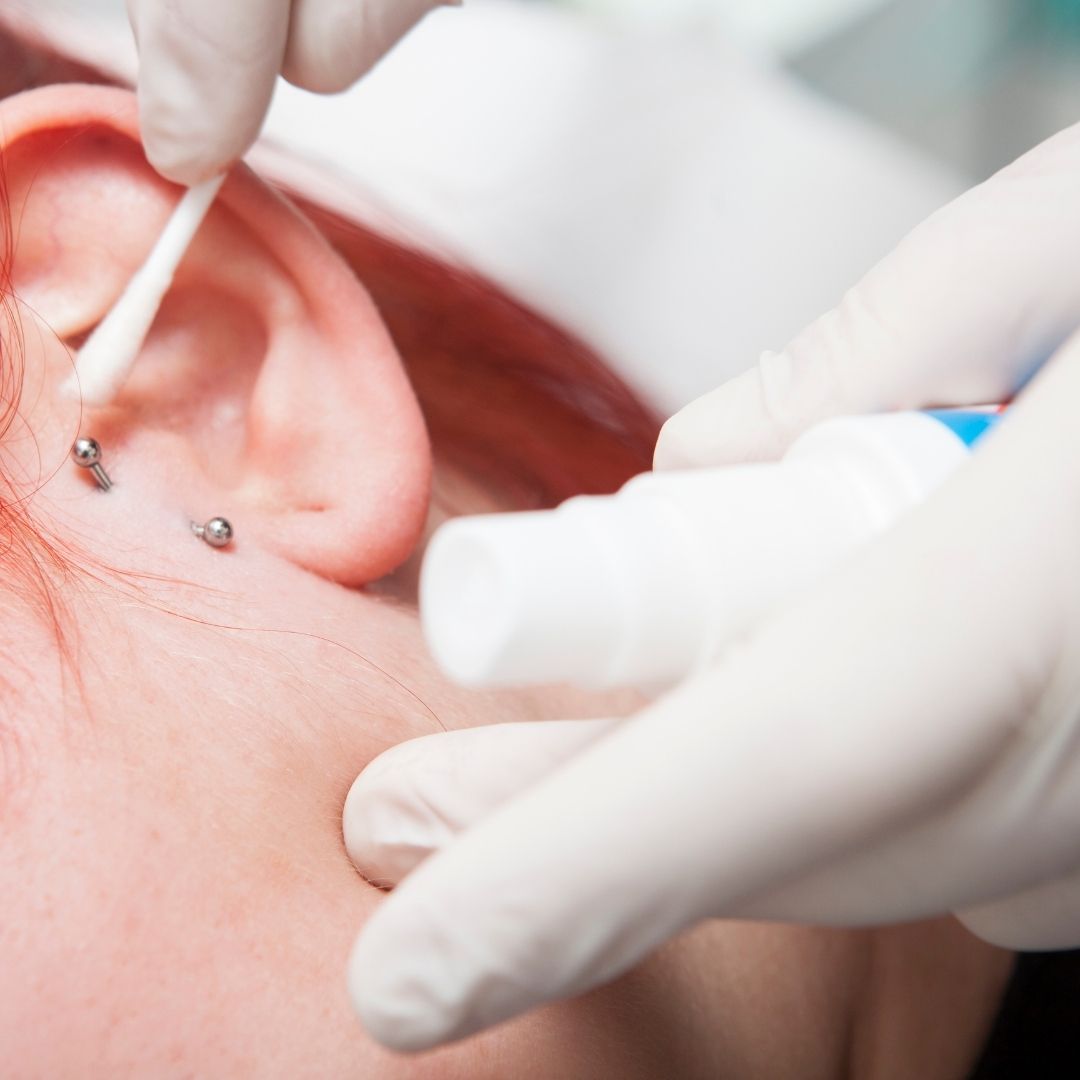
Aftercare is essential for preventing piercing scars and keloids. Following your piercer’s aftercare instructions will help ensure the wound heals properly without complications.
Aftercare Tips:
- Clean Gently with Saline Solution: Clean the piercing gently with a saline solution twice a day. Avoid harsh chemicals like alcohol or hydrogen peroxide, which can irritate the skin and slow healing.
- Avoid Touching or Twisting the Jewelry: Touching or moving the jewelry can introduce bacteria and irritate the wound. Only touch your piercing with clean hands when necessary.
- Don’t Remove Jewelry Too Early: Keep the jewelry in place until the piercing is fully healed to prevent scarring or infection. Removing it prematurely can cause the piercing to close, leading to uneven healing.
4. Avoid Irritation and Trauma to the Piercing
Irritation or trauma to the piercing site can increase the risk of scarring or keloid formation. Protect your new piercing by being mindful of activities or habits that irritate the area.
Ways to Avoid Irritation:
- Sleep Carefully: To prevent pressure and irritation, avoid sleeping on the side of the piercing, especially with ear or face piercings.
- Be Mindful of Clothing and Accessories: Tight clothing, hats, or accessories that rub against the piercing can irritate the area and delay healing.
- Avoid Swimming in Pools and Lakes: Pools and natural bodies of water can harbor bacteria, increasing the risk of infection and leading to scarring.
5. Use Keloid Prevention Techniques

If you are prone to keloids, it’s important to take extra precautions to minimize the risk of developing raised scars after getting a piercing.
Keloid Prevention Tips:
- Pressure Pads or Silicone Gel Sheets: After the piercing has healed, silicone gel sheets or pressure pads may help reduce the risk of keloid formation.
- Early Treatment: If you notice the early signs of a keloid (such as a raised bump), consult a dermatologist immediately. Early treatment with corticosteroid injections or other therapies can help prevent further growth.
6. Be Patient: Healing Takes Time
The healing process for piercings can vary depending on the location and individual factors. It’s essential to be patient and follow aftercare routines even after the piercing appears healed on the surface.
Healing Times for Common Piercings:
- Earlobes: 6-8 weeks
- Cartilage (helix, tragus, etc.): 3-12 months
- Navel: 6-12 months
- Nose: 2-4 months
Staying consistent with your aftercare routine throughout the healing period is key to avoiding complications.
7. When to Seek Professional Help
If you notice signs of infection, abnormal scarring, or a keloid forming, it’s important to seek professional advice from a dermatologist or your piercer. Early intervention can help prevent further complications and ensure your piercing heals correctly.
Signs to Watch For:
- Excessive Redness or Swelling: Some redness is normal, but excessive swelling, pain, or heat around the piercing may indicate an infection.
- Oozing or Discharge: Yellow or green discharge and foul odor can be a sign of infection and should be treated promptly.
- Formation of Large Lumps: If a lump appears at the piercing site and begins to grow, it could be a keloid. Consult a dermatologist for treatment options.
Healthy Healing for Beautiful Piercings
Avoiding piercing scars and keloids comes down to proper aftercare, choosing the right piercer, and being mindful of your healing process. Following these guidelines can reduce the risk of scarring and keloid formation while enjoying your new piercing. Remember to be patient, listen to your body, and seek professional help if you notice any unusual changes. With the right care, your piercing can heal smoothly and look beautiful for years.


